|
Making Torpedos with 3D Studio Max 2.x
by Alex Lukachuk aka Chimaera
I'm doing 3d graphics for more than 2 years now and for many and many months I couldn't manage to do a decent torpedo... Then, one day, I went to a big « computer supermarket », the only one in Paris, and I bought the 3DF/X book for 3D Studio MAX. It's a really good book for MAX users ; it was originally done for the MAX 1.x users but it can also be used by people who have the 2.x version.
In this book I found many tutorials like how to do a nebula, how to create decents clouds on a planet and a very good Torpedo tutorial.
This is the one I will explain here.
You will need for this tutorial to create your own map to be « the real author » of the image you will use this tutorial in but I'll give the Torpedo Map from the book I mentionned above. Of course this tutorial will require MAX... The configuration isn't important because It doesn't use many polygons.
From a certain point of view, this tutorial will seem easy and it is ! It requires only very basic mapping knowledge. Create a new scene in MAX and let's go :
- Activate the Snap stuff, all of it... I always do that and believe me, it make your scene much more accurate.
- Create a 200x200 QuadPatch in the middle of the scene, in the Front Viewport. Apply the Mapping Coordinates to it.
- You must now have a QuadPatch. Click, then Right-click on the Rotate button in the interface.
- Select the QuadPatch, it must have 90 at X.
- Clone it and turn in in that way : X :90 Y :00 Z :90 in Absolute World.
- Duplicate in one more time (the original one).
- Turn in to place it horizontally to others, this is to say with « 0 » at each X,Y and Z.
Ok, this is the end of the modeling stuff... some will say owff ! ! ! Here the mapping.
- Go to the Mat Editor. Select the first map slot and rename it Torp Map.
- Change Diffuse and Ambient to pure Black ; Specular and Filter to pure white.
- Set Shiness and Shiness Strengh to « 0 » and Self-llumination to 100.
- Check 2-Sided in the high part of the rollout.
- Load your Torpedo Map in the Maps/Diffuse Slot. Instance is as well in the Opacity slot to make the torpedo brighter.
- Apply it to each QuadPatch.
- Apply the UVW Mapping stuff in Modify and set it to planar.
It's ok, you can render.
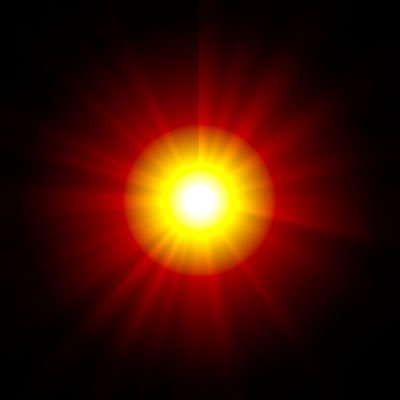
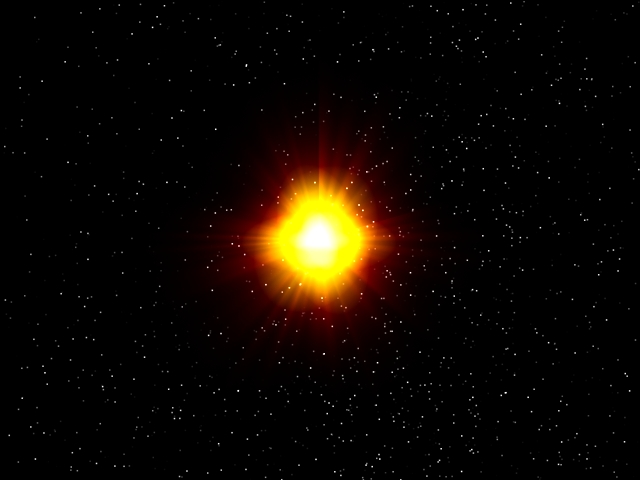
This tutorial is pretty easy, the only difficult thing here is the bitmap... Here's an example of what you can do and the Torpedo Map to download.
 |
|
 |
| Map |
|
Example |
Thanks in that to J. Bell whose book is really excellent and I hope you'll buy it.
|
|