How to create planetary rings in
3D Studio Max 2.x
by Jim Herring
There are other ways to make planetary rings as I'm
sure you know, but I've found this to be the easiest and
fastest way to make realistic planetary rings. I came up
with the technique one day while experimenting with
Photoshop - note that if you aren't using Photoshop you
won't be able to make rings with this technique.
Step 1. Create the textures
Diffuse map
This whole technique is based around textures so this is the important part. Open up Photoshop
and lets create a new 1200x600 image, with black as the
background color. Here's where you'll be deciding on ring
colors and widths. Click on the airbrush or paintbrush
tool and right click, then select Dissolve as your brush
type. Now draw lines across the image of varying widths
and colors - be sure to space them with varying widths as
well for full effect. Try to keep the colors dark and
relatively dull, but varied colors. Keep in mind real
rings are a mixture of gas, ice particles, rocks and
other floating debri of different densities, so create
colors accordingnly. Below is an example diffuse map I
made for a ring shrunk to about 20 or 30 percent its
original size, 1200x600.

Opacity map
Rings aren't solid sheets, so you're going to need an opacity map. Simply take the
diffuse map you just made and colorize it 100% white, and
voila, opacity map. Below is a thumbnail example.
 Specular map
This map is optional, so
you can skip this part if you want. Since I'm not all
that fluent in Photoshop 5 yet, I used Microsoft Image
Composer for this one. In MIC open up the original
diffuse map and apply a chrome effect from the art
effects tab in the exotic section. When you apply the
chrome bring the detail up to full and smoothness almost
down to zero. Below is a thumbnail example.
 Bump map
Once again open up the
original diffuse map in Photoshop and just apply a bas
releif effect to it. bring the detail up really high and
keep the smoothness down almost to zero or zero. I did it
with the light in the upper right corner, but anything
works. Below is a thumbnail example.

Step 2. Create
object and place textures
Open up 3D Studio and
create a tube. Use Center as the creation method and just
draw it out and make it as wide as you want, but make
sure its height is 0.1. Select it and go to the modifiers
tab and set its number of sides to somewhere around
45-60. I went ahead and used 81, but some machines may
not take that too well. Take a minute to go ahead and
make a planet in the center of the rings and apply a
texture to it if you want to.
Now open up the material
editor. Make a material with the diffuse, bump, specular
and opacity maps you just created. Set it's shininess to
about 74, shininess strength should be around 57 and
opacity at 100. Set the diffuse map to show in the
viewport. Usually its a good idea to tile your ring
texture about four or five times, so do that to all maps
when you add them to the material. Also when you add the
bump map, put it's value (the field right labeled
"Bump" just before the rollout button that
selects the map type) up to 100. Now apply the material
to the ring you made. Since you set the diffuse map to be
visible in the viewport, you'll notice seams where the
texture isn't straight along the ring. Rotate the diffuse
map from the material editor until it looks aligned best
along the ring. Do the same for the rest of the maps -
make them viewable in the viewport, then rotate them so
that they're aligned on the ring.
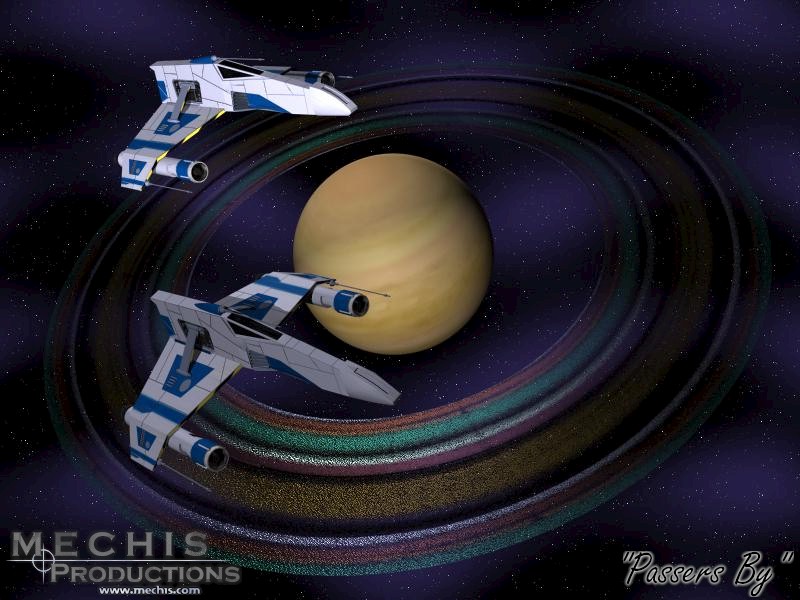
Your all finished! Now
render the scene with a stars or black background and see
how it looks. If you want add some lights and toy around
with the scene. If you rendered with a stars background
you'll notice how the stars show through the rings as if
it were a collection of particles. Below is a thumbnail
of a ring created with the above maps, click on it to
view it full size.

Questions? Comments?
Send them to jth@mechis.com
|