|
How to create Nebulae
in 3D Studio Max 2.x
by Ben Ellerin a.k.a. Ertai
3D Studio MAX is such a flexible tool that there are
probably as many ways of creating nebulae as there are cooking a microwave
dinner. (e.g. microwave, oven, campfire, blowtorch, et. al.) Some of
them may be a bit extreme while others may produce less than satisfactory
results. The following is a method that I stumbled upon one morning
while looking for an alternative to the plain old star field background.
I hope you find this method as easy and eye appealing as I do.
Under
the rendering pulldown choose environment. Click the bar under where
it says Environment Map and choose Noise.
Now
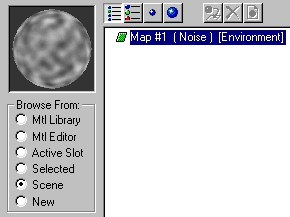
close the Environment panel and open up the Material Editor. Click on
a free space and click the Get Material button. Choose scene on the
left and choose noise on the right.

Close the
Material/Map Browser. Leave the coordinates alone for now, you can always
go back and adjust that stuff later. Now, leave the noise type at regular
and change the levels to 10. Set the low to 0.7 and the size to 0.2.
Under Maps click where it says None next to Color #1. Choose noise and
then close the browser. In the Material Editor change the noise type
to fractal and the size to 15. Set the low to 0.45 and the phase to
2. Click on the white next to Color #2 and choose a nice deep purple.

Now go
up to the parent directory (if you cant find the right button you can
always hold your pointer over random buttons and the name will pop up.)
Once in the parent directory, go to the rendering menu bar and choose
render.
Of course
you certainly don't need to pick purple and there are many other colors
that work well too so don't hesitate to play around with the colors.
If you want to change the look of the nebulae just play around with
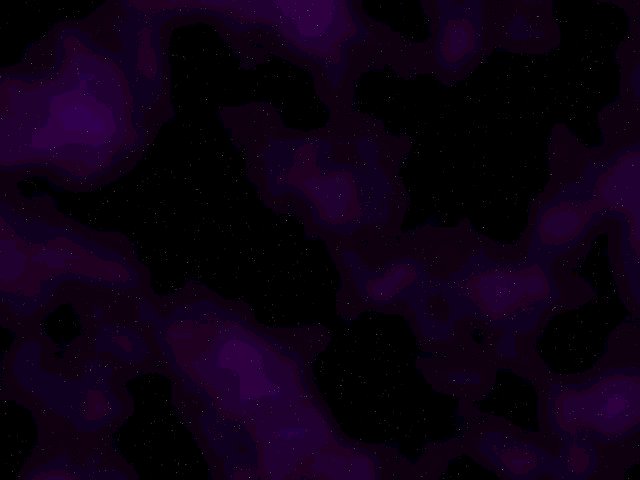
the XYZ offset on the parent level. Your results should look something
like this:

Comments? Suggestions? Send e-mail to Ertai1@usa.net
| 
